| Gimp Tips Part 1: Resizing Images 
Posted: 2 Feb 2005
*note* For those of you who are Photoshop gurus, the beginning of this
article will cover the basic concepts behind resizing an image, so you might
want to skip down to the "let's resize" portion.
Differences between resizing your image and resizing your
canvas
When I began my journey down the road of digital image manipulation, I didn't
understand too much about photography so I had to learn a lot of basic concepts
on my own. One of the concepts I wish someone had told me about was the
difference between resizing an image (i.e. scaling an image) and resizing the
canvas of the image.
- Resizing an image is equivalent to blowing an image up, or sizing it down.
It's like making a 4 X 6 print out of a 8 X 10 print, or vice-versa. See
example below:
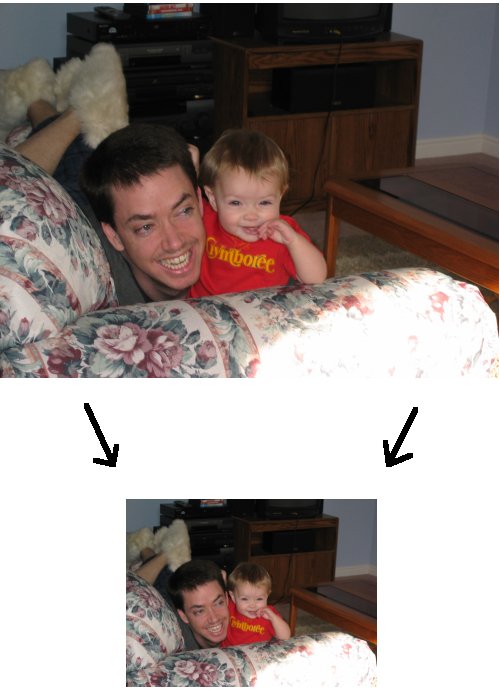
- Resizing the canvas is equivalent to chopping off or adding on to the
canvas of a painting. The actual image size doesn't change at all, unless you
make the canvas too small; it then chops off part of the painting. You'll
notice that in the example below, the lower image is just a cut of the upper
image. Like it has been cropped.

Let's ResizeWith the explanation out of the way, let's start clickin'
and actually do a little /coolsolutions/img/11503-resizing.
Resizing
images with The Gimp is done with a few simple steps.
- With The Gimp open, select the image you wish to resize
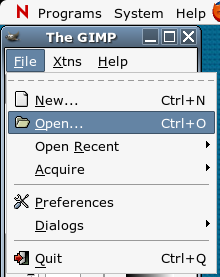
When
my image is open, my screen looks like this:
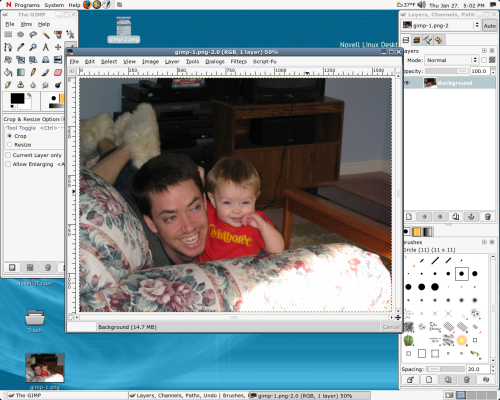
Even
though it's a bit hard to tell in this article, the image on my screen is
really quite large. 1600x1200 pixels, to be exact.
(pressing ctrl-alt-I
will open an information window telling you the different specs of your image,
as is seen below)
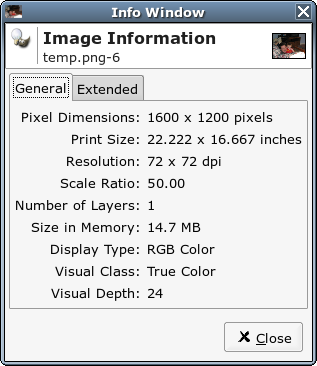
To
resize this image down to something that's usable, say, on a website, simply
right-click anywhere on the image, and you'll see a menu pop up.
Follow
the menu to Image -> Scale Image

When
you click on that item, the following window will appear.
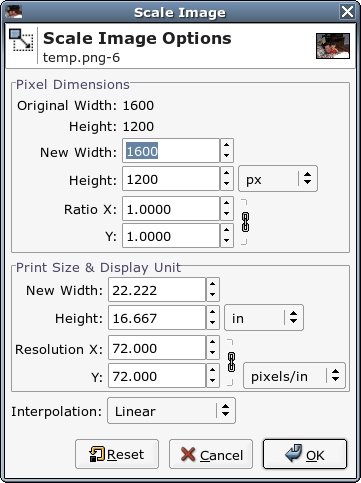
Unless
you're doing print work, the only things you'll have to worry about here are
the things in the Pixel Dimensions box.
Go ahead and type in
your width dimension and press TAB.
Upon pressing TAB, you'll notice
the height is automatically adjusted to maintain the aspect ratio of the
original image. This is done to make sure your image doesn't distort upon
resizing.
I chose 500 for my width.

If
you don't want the aspect ratio to be maintained, simply click on the "chain"
icon

and
that will break the link between the width and the height of your image,
letting you choose them independently of each other.
Anyway... After
you've chosen the width and height of your image, press OK and you'll
see your image magically be resized!

After
you've resized it, you can save it or continue your manipulation any way you
see fit!
Keep your eyes open for more Gimp tips coming soon.
|


