Posted: 23 Feb 2005
In the recent past, we've looked at a small few of the many email
capabilities contained in Evolution. There are several other parts of this
software that deserve attention. There is an address book called Contacts.
Evolution also has an appointment book called Calendars. There is even a to-do
list manager called Tasks.
Today, we're going to take a look at the Contacts section of Evolution. I
like to customize the layout of how these contacts are displayed within
Evolution. It is this that I would like to demonstrate. As always, you'll need
to open Evolution to get started.
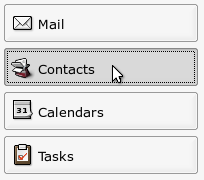
In the lower left corner of your Evolution window, click on the CONTACTS
button:
Your contacts appear in the pane on the right:
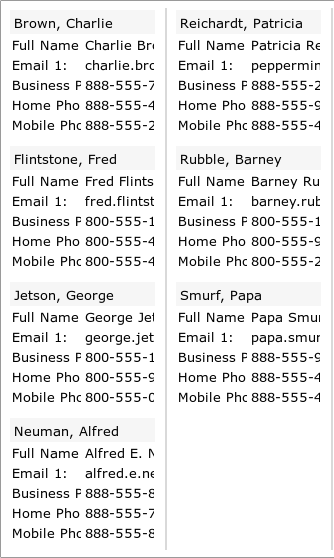
However, you can see that almost none of the information is legible. Let's
make it look nice by creating a custom layout.
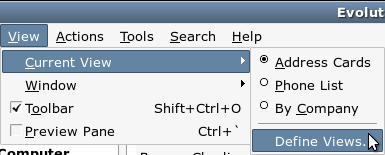
Click on the VIEW menu, then CURRENT VIEW, and then DEFINE VIEWS:
A window appears called "Define Views for Address Book." Click the NEW
button:

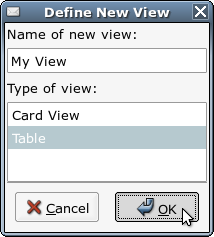
The "Define New View" window appears. Type a name for your new view. Select
the type of layout for your new view. I'm going to select TABLE. Then, click
OK:
Another window appears. It's prompting you to define your new view. Click the
FIELDS SHOWN button:

The "Show Fields" window comes up. The fields on the right will appear in
your new view. The fields on the left are the ones from which you can choose to
add to your view. To add a field, select it from the list on the left and click
the ADD button in the middle. To remove a field, select it from the list on the
right and click REMOVE. Let's remove all of the fields from the list on the
right except for EMAIL. Then, let's add GIVEN NAME, FAMILY NAME, BUSINESS PHONE,
HOME PHONE, and MOBILE PHONE. The window should look like this, now:

Now, use the MOVE UP and MOVE DOWN buttons to arrange the fields as you like.
When everything is set, click OK:

You are then taken back to the window where you define your view. Click
OK:

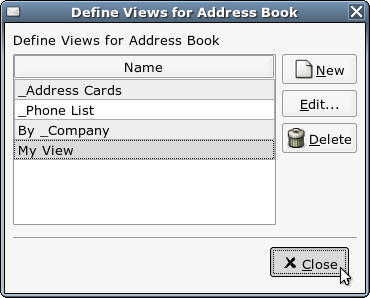
You are taken back to the "Define Views for Address Book" window. Click
CLOSE:
Go up and click on the VIEW menu, then CURRENT VIEW, and then the name of the
view you created. For me, this is 'My View':

Your contacts appear with the fields that you've defined for your view:
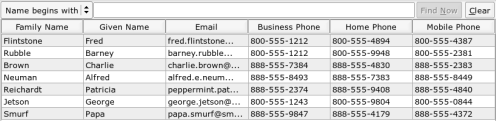
Notice, however, that there is excessive space in the FAMILY NAME and GIVEN
NAME fields, and that the EMAIL field is cut off. Adjust the widths of the
colums to your liking:
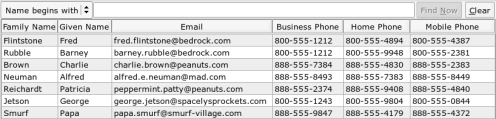
Also, the contacts do not appear in any specific order. Generally, this list
would be sorted by the contacts' last names; here, this is the FAMILY NAME
field. Set it to be sorted by FAMILY NAME in alphabetical order:

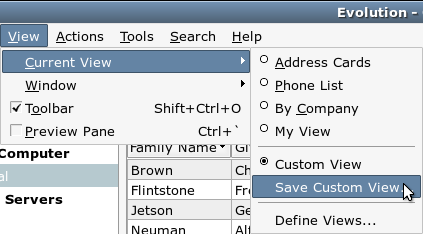
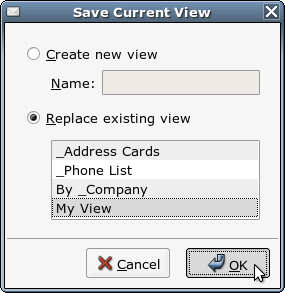
Finally, let's save the layout changes to our new view. Go back up to the
VIEW menu, select CURRENT VIEW, and then SAVE CUSTOM VIEW:
In the window that appears, select REPLACE EXISTING VIEW. From the list,
select the view you have created. Then, click OK:
You have now created your view and completely customized it to your liking.
If at any time, the layout gets changed or otherwise rearranged, just go back to
the VIEW menu, select CURRENT VIEW, and click on your view. It will restore the
layout to look exactly as it does now.
Evolution is a great tool for personal information management. In addition to
the many email preferences and options, there are a whole bunch of excellent
features in the other areas of the software. Hopfully, this guide has given a
glimpse of what other possibilities exist in Evolution. Next week, we'll look at
more of its exciting features.
|