Posted: 9 Mar 2005
When I was young, I saw a friend of mine take a black and white picture, and
accent it with colors to make it look a lot better. I wondered to myself if that
could be done with The Gimp...
I was pleasantly surprised by the
results.

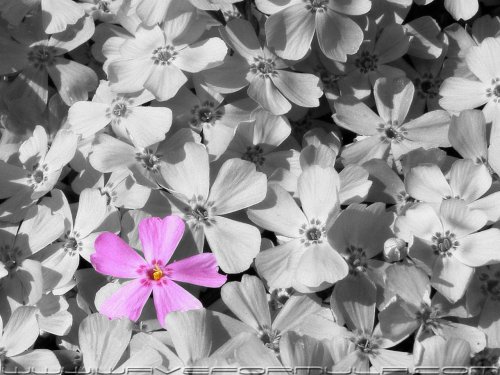
To
begin, you find a photograph that lends itself easily to being selectively
colorized. I chose this photograph because it is a photo of a lot of similar
objects, one of which can be drawn out by using color.
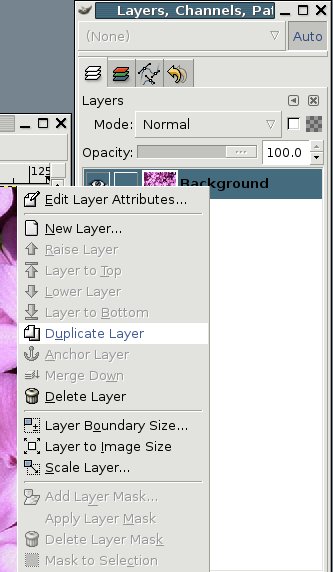
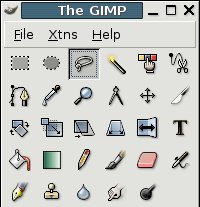
After your photo
is loaded, you'll want to duplicate the background layer by right-clicking on
the background layer and choosing "Duplicate Layer".
You'll
notice that an identical layer immediately appears in the layer dialog
window.
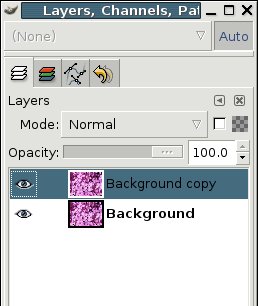
Now
we'll want to de-colorize the "Background Copy" layer. First, make sure you've
got the Background Copy layer selected by clicking on the "Background Copy"
layer.
Then, there are many ways to de-colorize an image, one of which is
to right-click on the image and follow the menu to Layer -> Colors ->
Desaturate
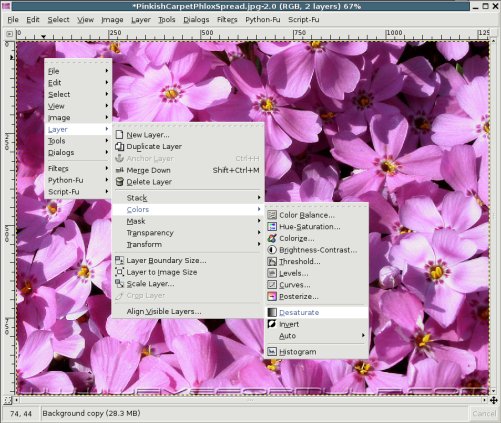
After
the layer has been desaturated, you'll notice that the respective layer has
become desaturated in the layer menu.

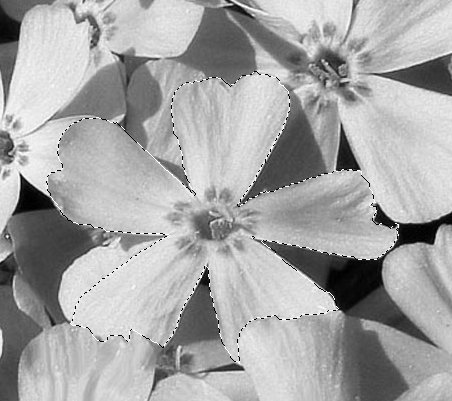
Now,
find the portion of the image you wish to bring back to color and use one of the
various select tools to select it.
The lasso tool suited this image the
best, so I'll use it.
Now,
select the portion of the image you wish to colorize.
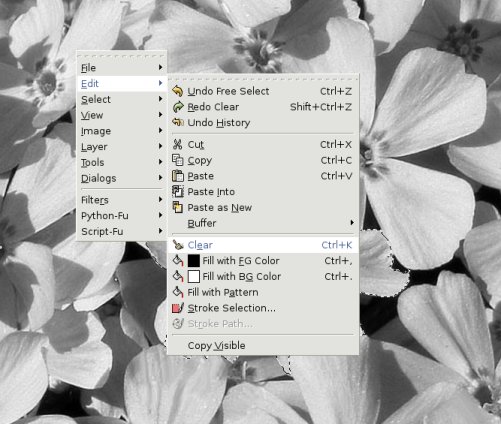
When
you've got it selected, you'll simply want to clear it out by pressing "CTRL-K"
or by right-clicking on the image and following the menu to
Edit->Clear
Upon
clearing, you'll notice the selected portion of your image will "bouce back" to
its original colors.
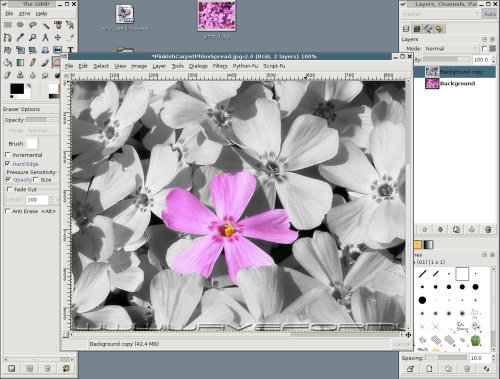
And
there you have it. You've now got a much more stylized photograph than you
originally had.
|